I remember one year, as a kid, I got all worked up about my birthday. I didn’t have a cellphone or an alarm clock at the time, so the only way to know what time it was from my bed was to switch from Cartoon Network over to TV Guide. Shockingly, this didn’t make it any easier to sleep. With each passing second, I was just that much closer to being older, and that was just awesome.
Finally – probably some time around 3 am – I managed to fall asleep.
When I woke up: I was confused.
By noon: devastated.

To no fault of anyone but myself, I’d worked myself into such a frenzy of thinking that somehow, that morning, I would be different, that I ruined the entire thing. For some reason, I was convinced that I’d be older and wiser and suddenly somehow a cooler version of myself when I woke to the sunlight through my curtains – but I was only right about the “older” bit.
For this reason, I’m not the biggest fan of my birthday. I like to do something small, I guess, but I’m mostly interested in recognizing that I’m older every day – and to expect – and work toward – change in a more gradual manner.
Other people’s birthdays, however, I can get behind. I love making over-the-top and unique-to-the-friend sorts of desserts; custom to a request or prompt – or just inspired by their awesomeness.
Sometimes that means going off “something with peanut butter,” and other times it means, “just make something – I know I’ll love it.”

For this occasion, it was the latter. V is a fan of food, like myself, but she’s also a fan of surprises.
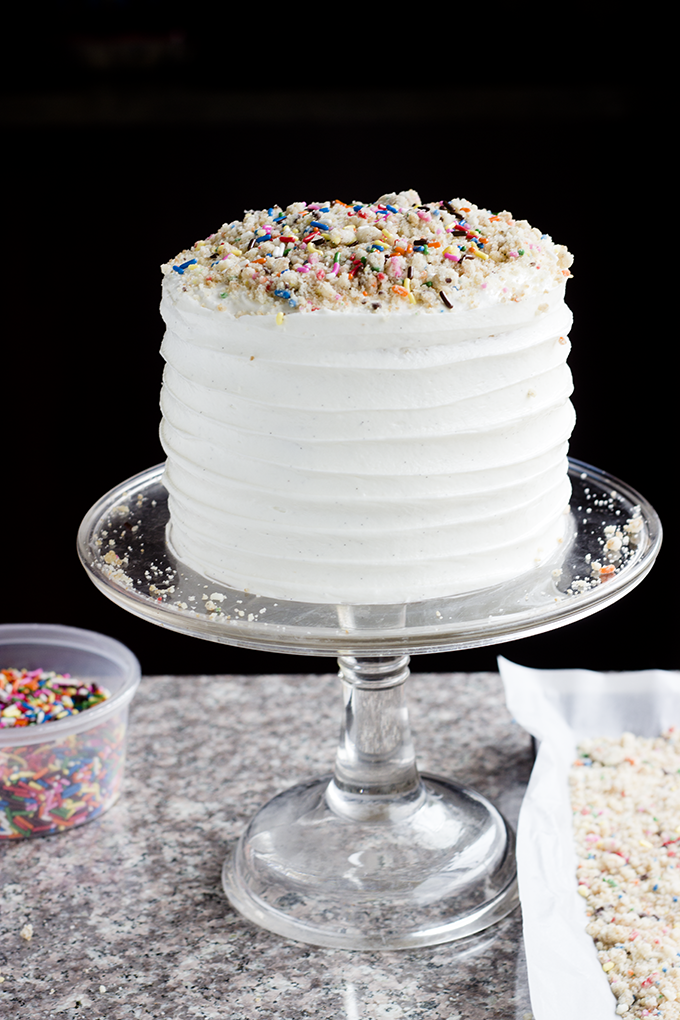
To me, nothing seemed more appropriate for the occasion than the famous Momofuku Milk Bar Birthday Layer Cake. The Milk Bar, in general, is so appropriate for her. Familiar but unique, creatively-charged and unexpected, and shocking – but in the way that makes you smile.
Due to a lack of preparation on my part, I strayed from their suggested construction using acetate sheets. Frankly, I would have preferred their method, but hey – sometimes you have to improvise. It’s what V woulda done.

And besides – who cares what a cake looks like? On a birthday, it just matters that there is dessert to be shared with friends.
In our world, anyway.
- For the Cake:
- 2 c cake flour
- 1½ tsp baking powder
- ¾ tsp kosher salt
- ¼ c plus 2 Tbsp rainbow sprinkles, divided
- ½ c buttermilk
- ⅓ c grapeseed oil
- 2 tsp clear imitation vanilla extract, preferably McCormick brand
- 1¼ c granulated sugar
- ⅓ c vegetable shortening
- 4 Tbsp (1/2 stick) unsalted butter, room temperature
- 3 Tbsp light brown sugar
- 3 eggs, room temp
- For the Crumbs:
- ¾ c cake or all-purpose flour
- ½ c sugar
- 2 Tbsp light brown sugar
- 2 Tbsp rainbow sprinkles
- ½ tsp baking powder
- ½ tsp kosher salt
- ¼ c grapeseed oil
- 1 Tbsp clear imitation vanilla extract
- For the Cake Soak:
- ¼ c whole milk
- 1 tsp clear imitation vanilla extract
- For the Frosting:
- ½ c unsalted butter, room temperature
- ¼ c vegetable shortening
- 2 oz cream cheese, room temperature
- 2 Tbsp light corn syrup
- 1 Tbsp 1 tsp clear imitation vanilla extract, divided
- 1¼ c powdered sugar
- ½ tsp kosher salt
- ¼ tsp baking powder
- ⅛ tsp citric acid (or ½ tsp fresh lemon juice)
- Make the cake:
- Preheat oven to 350°. Line a 13x9" rimmed baking sheet with parchment paper and coat with nonstick spray or shortening. Set aside.
- In a large bowl, whisk together the flour, baking powder, salt, and ¼ cup of the sprinkles.
- In a medium bowl, combine the buttermilk, oil, and vanilla.
- In the bowl of an electric mixer, beat the granulated sugar, shortening, butter, and light brown sugar until light and fluffy, about 4 minutes. Add eggs, one at a time, beating well to blend after each addition. It is important to occasionally scrape down the sides and bottom of bowl after each addition as well.
- Continue to beat mixture, scraping down sides and bottom of bowl every once in awhile, until almost doubled in volume and very light, airy, and pale yellow. This should take about 4 minutes.
- Decrease the speed of the mixer to low, and slowly pour in the buttermilk mixture until incorporated. Add dry ingredients all at once, and beat until just combined - about 1 minute.
- Scrape batter into prepared pan and smooth the top with an offset spatula. Sprinkle with the remaining 2 Tbsp sprinkles.
- Bake in the preheated oven until the cake is light golden brown, the center springs back when gently pressed, and a tester inserted into the center comes out with a few moist crumbs attached, 30–35 minutes.
- Remove cake from oven and cool on a wire rack.
- Make the Crumbs:
- Decrease the oven temp to 300°. Line a rimmed baking sheet with parchment paper (do not grease it) and set aside.
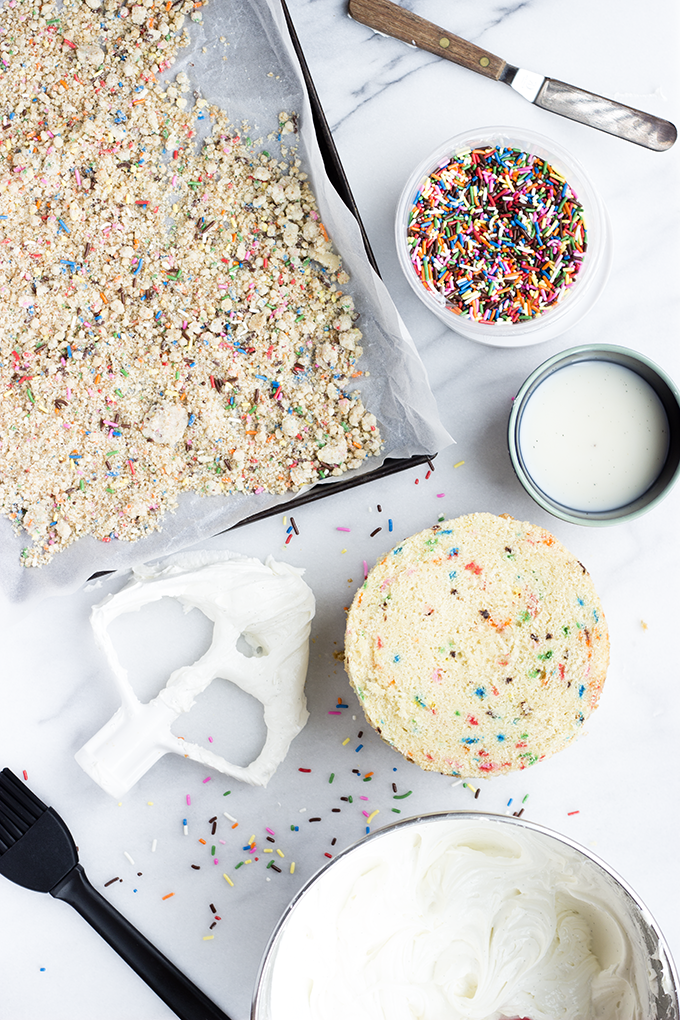
- In a medium bowl, combine the flour, granulated sugar, light brown sugar, sprinkles, baking powder, and salt. Add the oil and the vanilla, and, using your hands, mix until no dry spots remain and large clumps form when mixture is pressed together. As though you were making a crumble topping, break mixture up into clusters (some small, some large) and spread onto prepared baking sheet. Bake, stirring occasionally, until the rumble is light golden brown and crunchy, 10–12 minutes (it will firm up as it cools). Let cool completely on a wire rack.
- Make the Cake Soak
- This one is easy - combine the milk and the vanilla.
- Make the Frosting
- Combine the butter, shortening, and cream cheese in the bowl of your stand mixer which has been fitted with the paddle attachment. Beat on medium-high until mixture is smooth and fluffy, 2–3 minutes. Scrape down sides of bowl and slowly stream in corn syrup and 1 Tbsp. vanilla. Beat until mixture is silky smooth and glossy white, about 3 minutes.
- Scrape down sides of bowl and, with mixer on low, add powdered sugar, salt, baking powder, and citric acid until just combined. Increase speed to medium-high and beat until you have a brilliant stark white, beautifully smooth frosting, about 4 minutes (it should look just like it came out of a plastic tub at the grocery store!).
- Assemble the cake
- Place a silicone baking mat or piece of parchment on a counter. Invert cake onto mat, then peel off parchment. Use a 6" cake ring to punch out two 6" rounds from cake, or use a 6" springform pan to trace out 2 rounds, cutting with a paring knife. Do not throw away scraps - these two rounds are your top 2 cake layers, and the remaining cake will be smashed into the bottom layer.
- Line a sheet pan with a clean piece of parchment. Place a clean 6" cake ring in the center of the pan. Use 1 acetate strip to line inside of cake ring. Place the leftover cake scraps somewhat evenly inside ring, and use the back of your hand to press scraps together into a flat, even layer. Trust me - it will stay together!
- Generously moisten this layer with some of the cake soak. Brush it on with a pastry brush.
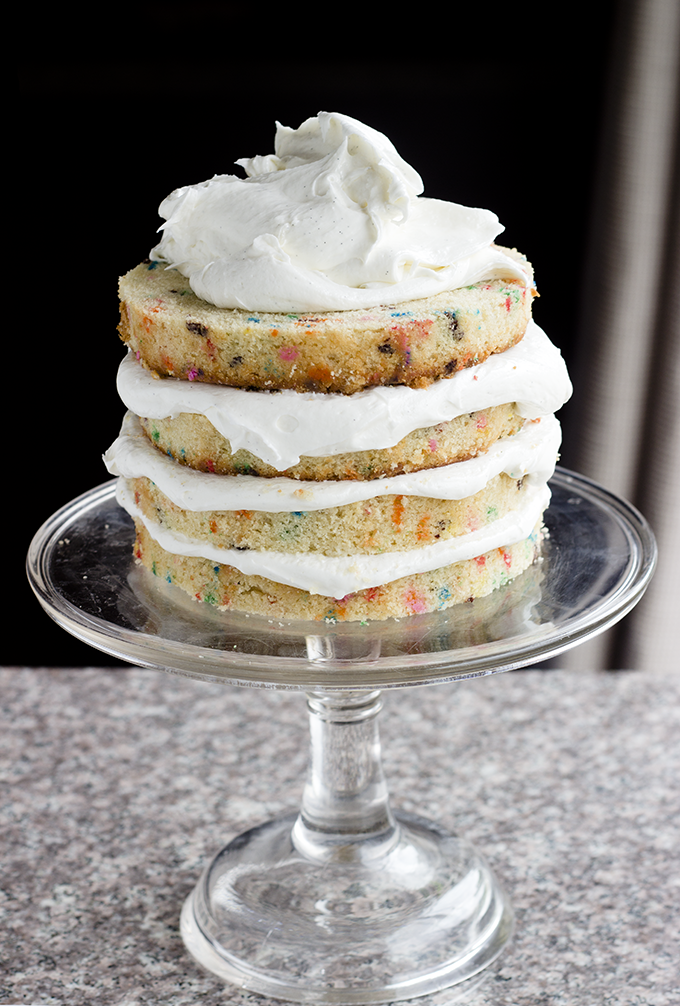
- Use the back of a spoon to spread about 3 Tbsp. frosting evenly over cake. Sprinkle ⅔ cup of the crumbs evenly over frosting, and press them in place. Use the back of a spoon to spread another 3 Tbsp frosting as evenly as possible over crumbs.
- With your index finger, gently tuck second acetate strip between cake ring and the top ¼" of the first acetate strip, so that you have a clear ring of acetate 5–6" tall—high enough to support the height of the finished cake. Top the previous layers with another round of cake. Brush layer with remaining milk mixture and repeat frosting-crumb layering process.
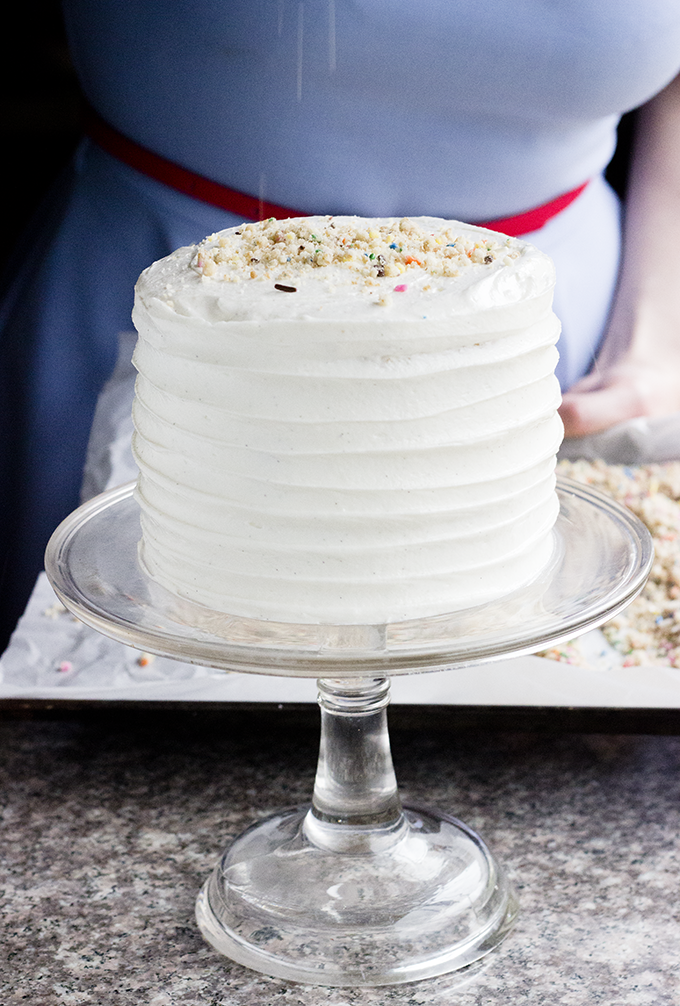
- Top the cake with the remaining cake. Cover top of cake with the remaining frosting, using an offset spatula to form decorative swirls, Top with the remaining crumbs.
- Transfer the finished cake to the freezer and freeze for at least 3 hours to set cake and filling.
- At least 3 hours before serving, remove cake from freezer and, using your fingers and thumbs, pop cake out of cake ring. Gently peel off acetate and transfer the cake to a platter or cake stand. Defrost in fridge at least 3 hours before serving.
Kaitlin you are a baking queen! This is such a beautiful cake, and I love everything about it. And happy birthday!!!
aw!! thank you thank you <3
Gorgeous cake! Sprinkles are my weakness 😛
Thank you, Lyba! Me too!!
This is gorgeous and based on the ingredients, it looks amazing. However after several reads through the instructions for assembly, I’m having a hard time reconciling the process. It may be just that it’s too complicated for an amateur like me but maybe an interior shot would help or maybe a description of how you did it without the acetate? Love your site and read it religiously and try an occasional recipe, this is the first one that’s tripped me up. Thanks always for posting!
Hi Katy,
Thanks so much! Sorry to have confused you – I promise it’s not complicated! I wish I had an interior shot, but I didn’t want to cut it open before my friend’s party 😛 it just looks like a normal cake inside though – I promise! Instead of baking the cake in the pan Tosi suggested, I divided the batter evenly between two 6″ cake pans. From there, I built the cake as described here: https://whisk-kid.com/2011/02/how-to-assemble-a-layer-cake.html 🙂 does that help?
I’ve always wanted to make one of these cakes! I think the way you assembled it is just fine. 🙂 What an awesome cake to make for your friend’s birthday!
Her recipes are so fun!! I can’t recommend her book enough. And I’m glad you approve of the unorthodox-by-way-of-being-totally-normal construction 😉 Gotta love the extra frosting!
Wowser!
I would seriously love it if someone got behind making me a birthday cake this awesome. Gets my vote for best present ever!
She was pretty thrilled about it!! 😀 I love being able to bake cakes for people – way easier than finding the perfect gift 😉
Just have to ask…is it the imitation vanilla, as opposed to pure vanilla, that gives it a particular flavor?
Yes, Christina swears by it!
Did you adjust the baking time if using 2 6″ cake pans instead of the sheet tray? Thanks!
Sorry for my delay, Beth! I started checking them at about 25 min. Keep baking at ~5 minute intervals. If the cakes spring back when you gently press on the top in the center, they’re done!